
You can use Library Blocks to save a Content Block configuration that you want to use more than once. The Library Block is saved separately from the email and allows you to make changes centrally. The changes update automatically in all locations when the Library Block is in use.
Creating a Library Block Directly in the Email Editor
- Insert and configure a Content Block.
- Hover over the Content Block and click the Save to Library icon.
- A pop-up window will appear where you can choose a location and name for your Library Block.
Your Library Block is now saved. It will have a grey outline when you see it in the Email Editor and you will be prevented from making changes to Block directly from the Email Editor. 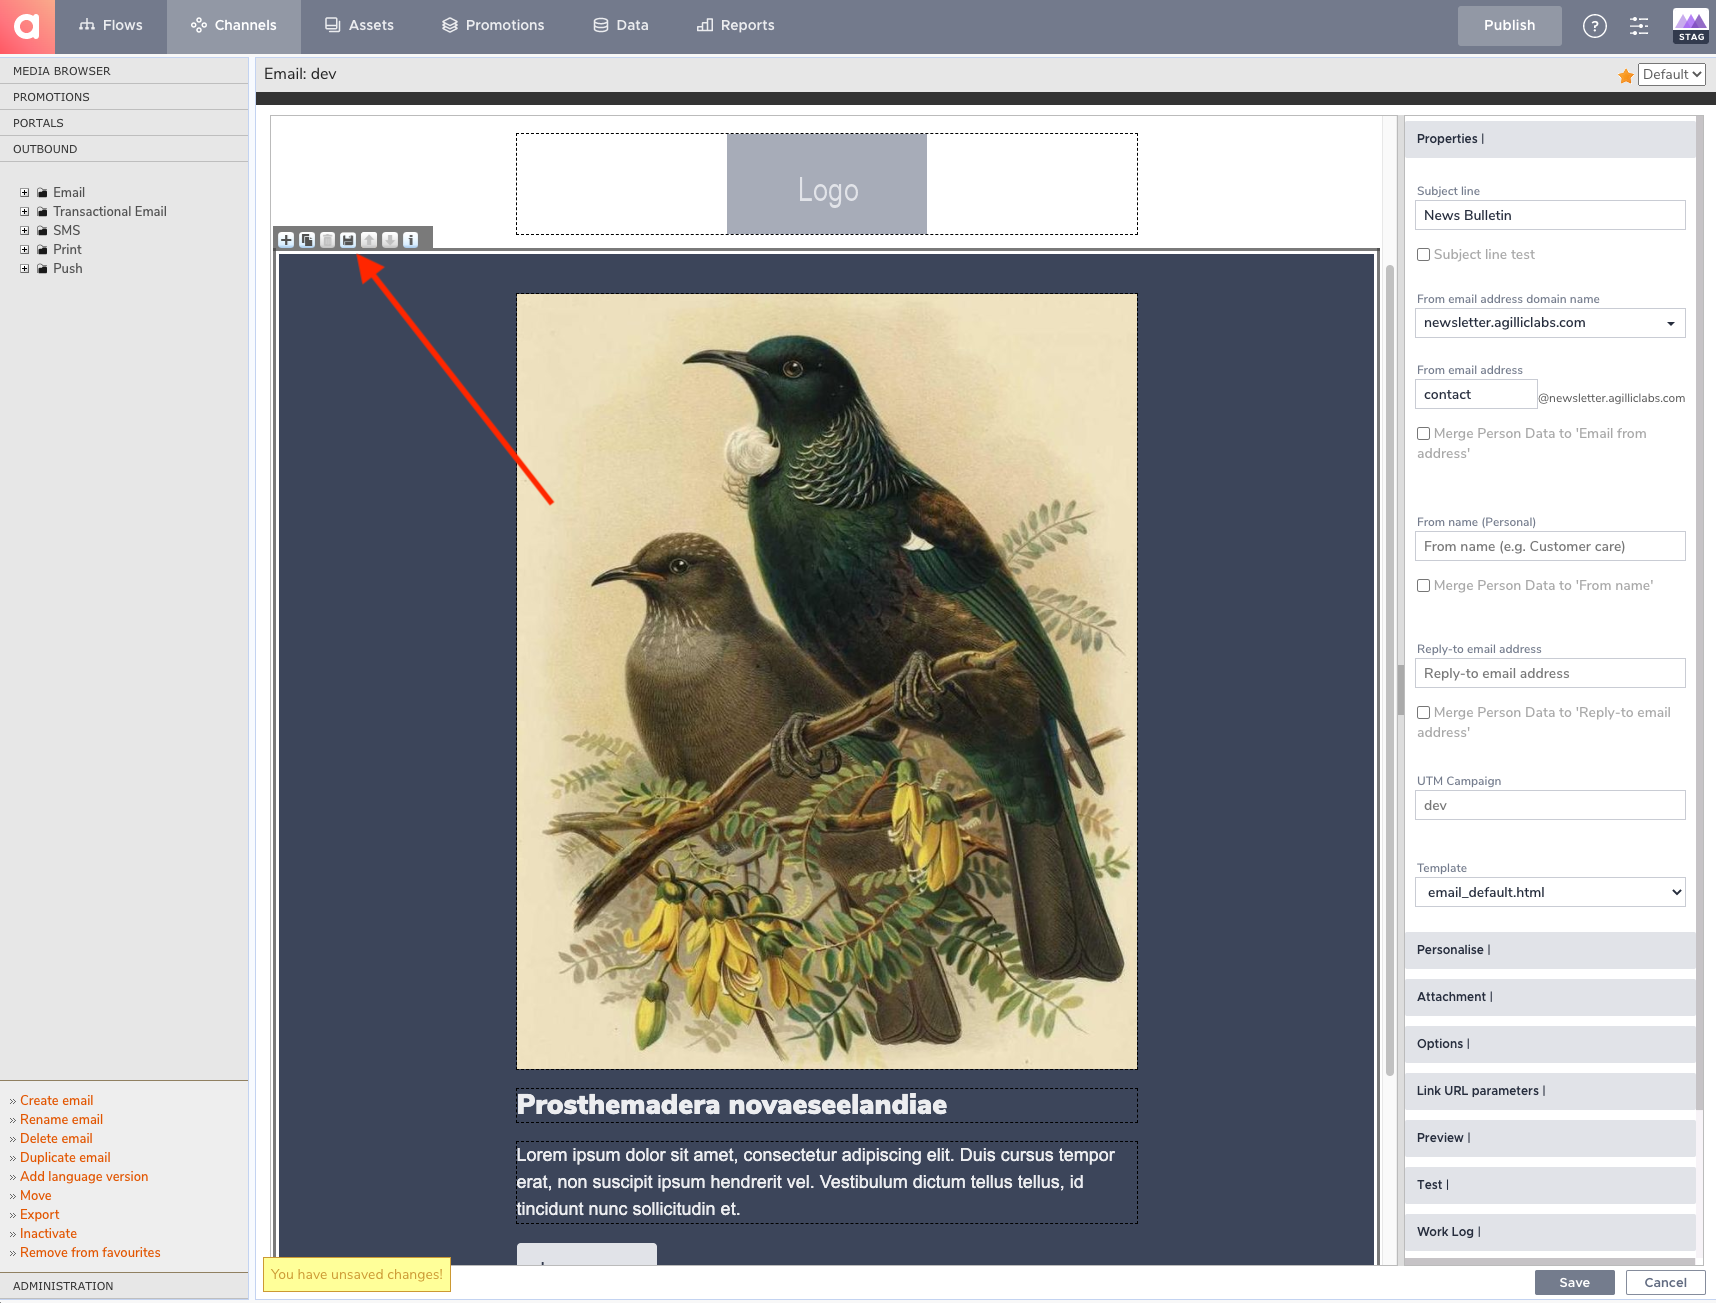
Clicking the 'Save to Library' icon after having configured a Content Block
Creating a Library Block in the Library Editor
- Mouse over the Assets module and then select 'Library Blocks'.
- Select 'Create block' from the bottom of the left sidebar.
- Name your Library Block and select an HTML template to base it off.
- Select a block available from the HTML Template.
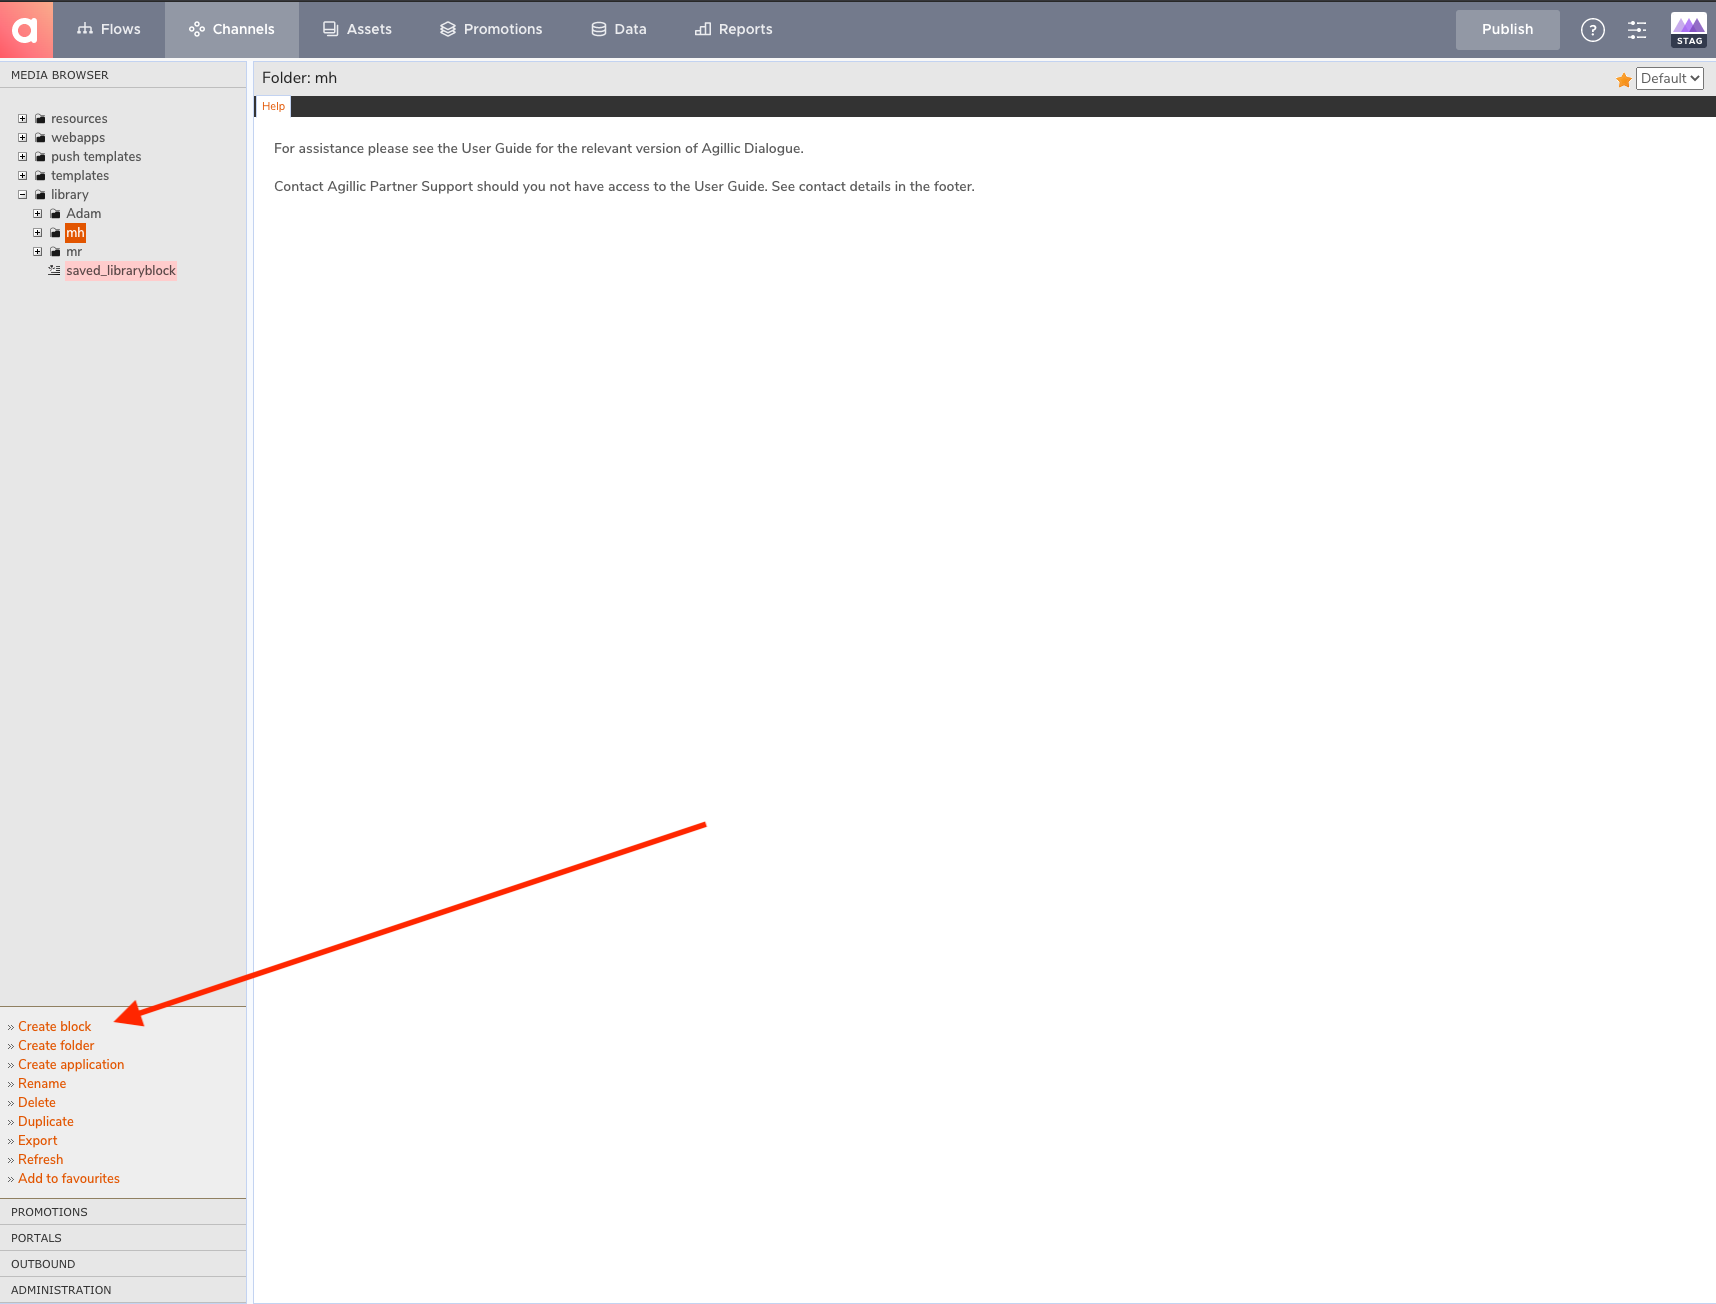
Click 'Create block' found under Assets/Library Blocks
You will be presented with an interface very similar to the Email Editor in which you are able to configure your Library Block centrally.
Once you've created your Block, go to an email and insert it by clicking 'Add' and switching to the Library tab.
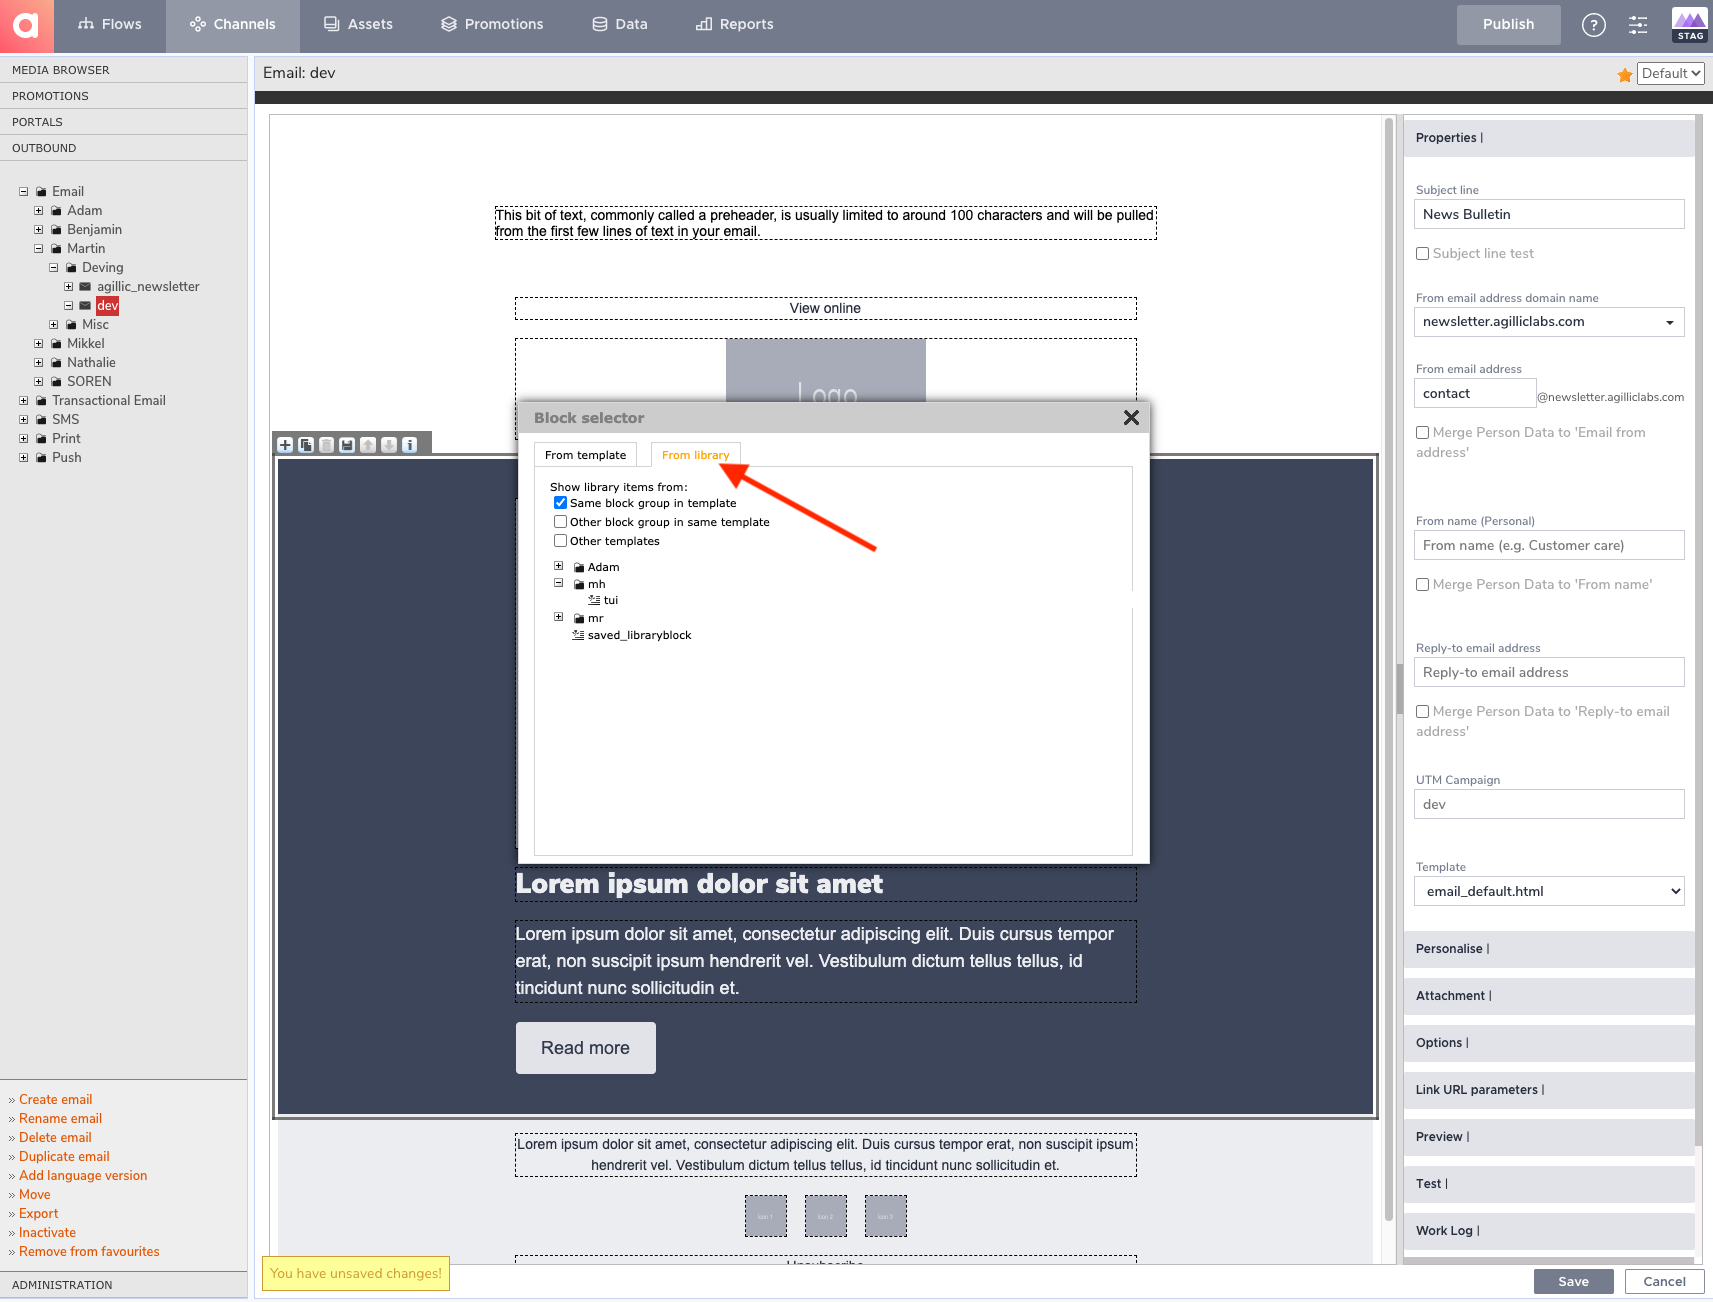
Inserting a Library Block in an email
Once inserted, any changes made to the Block back in the Library editor will be reflected here. If you want to insert the Library Block and detach it, giving you the freedom to independently make changes to it, open the Properties panel of your Library Block and click 'Detach block from library'.
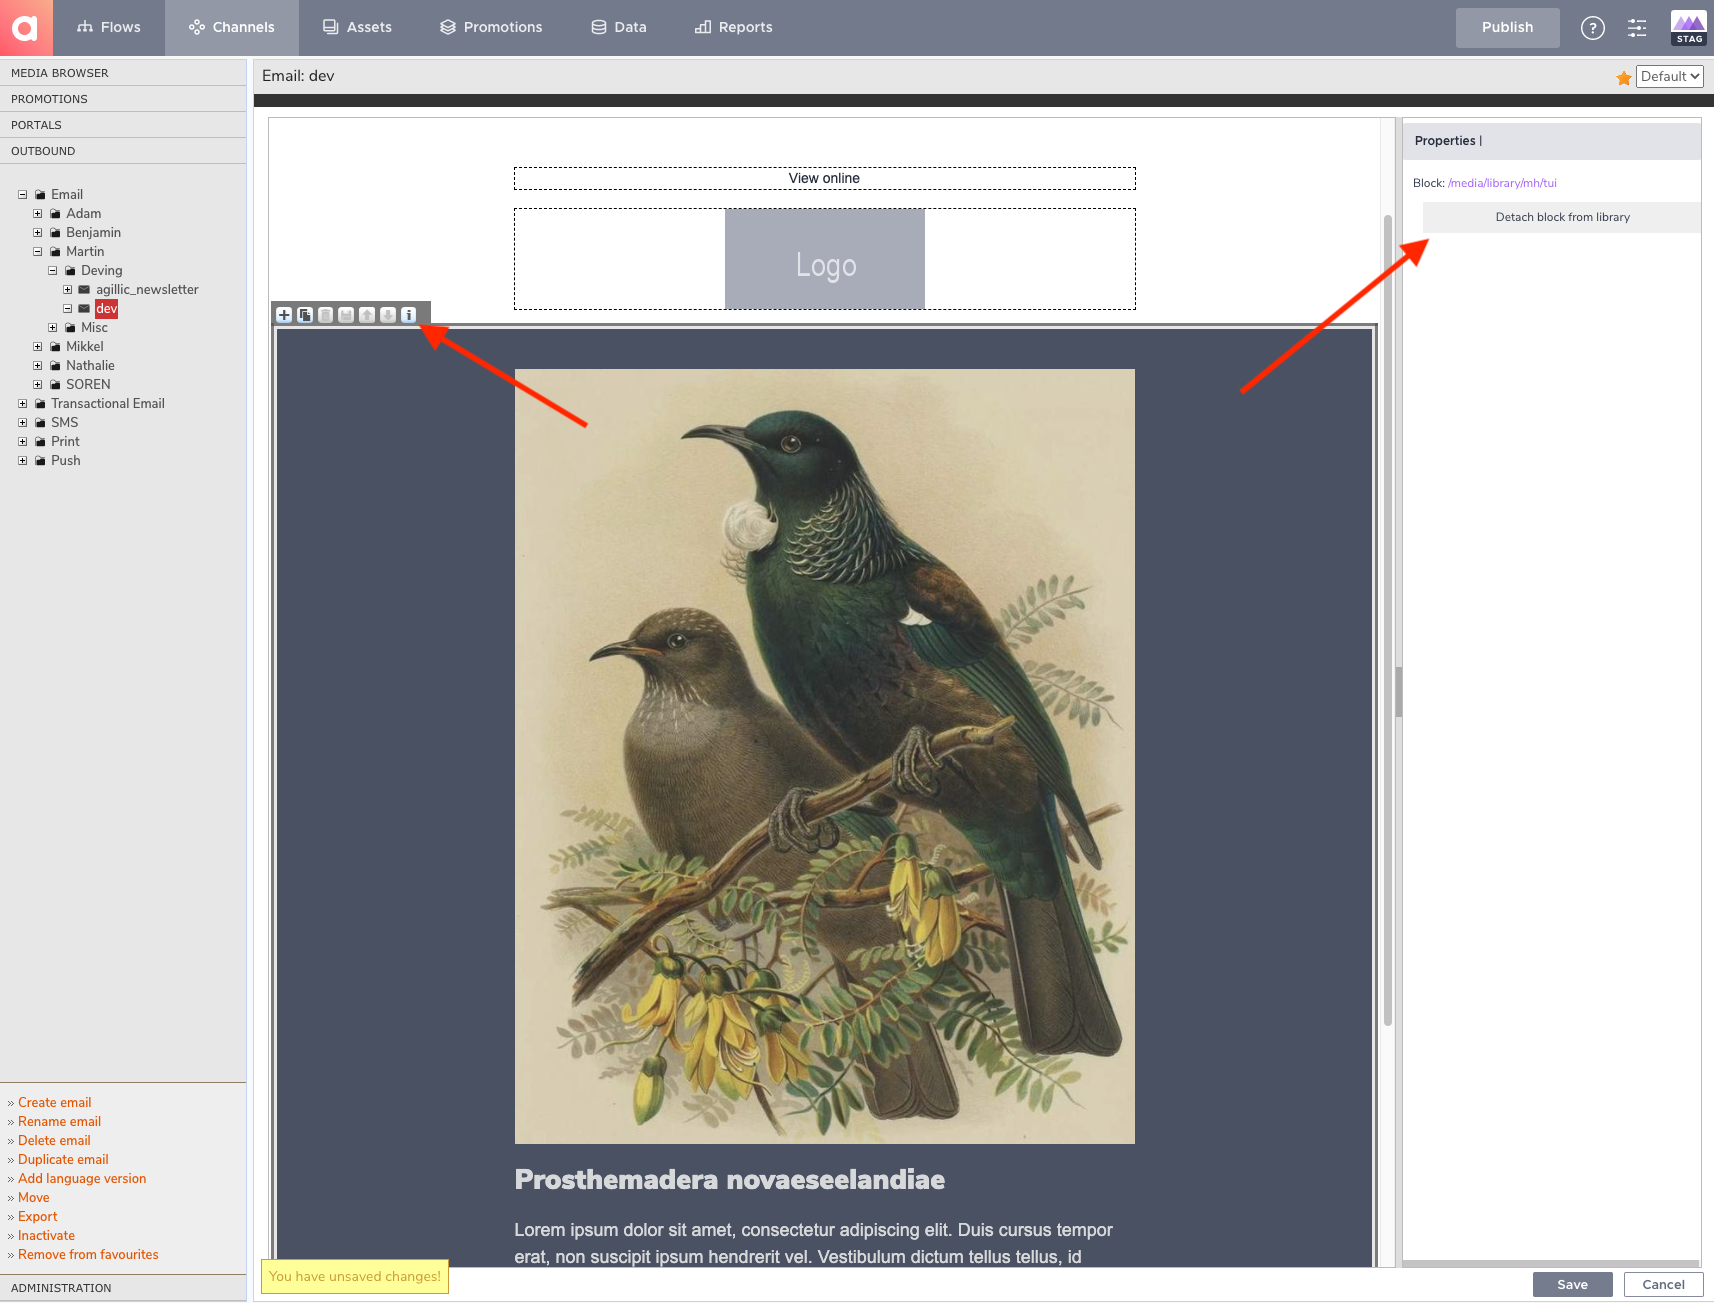
Detaching a Block from the Library
The Block is now detached, allowing you to make changes directly in the Email Editor. Please note that you won't be able to 're-attach' the Block to its original.