
When it comes to creating emails, there are several steps you have to follow. You have the opportunity to customise your emails later on in the process, making them individualised for each recipient.
Firstly, you need to base your email on a template and then fill out the email properties. After that, you can add Content Blocks to customise the layout of your email and personalise the content.
If you don't have an email template, contact a developer to make one or contact your Customer Success Manager for pricing. You can find more information in our Developer Portal on how to make templates.
In this article, you will find information about:
How to Create an Email
- Log in to the Staging environment.
- Open the Channels module and then select 'Email'.
- Choose the folder you want your email to reside in and click it.
- Click on 'Create Email' at the bottom of the left sidebar.
- A pop-up window will appear where you can fill in the name of your email. Select the template you'd like to use from the 'Layout' dropdown.
- Click 'OK'.
The email is now ready for the email properties to be set.
Configuring Email Properties
It's essential to configure the Email Properties as the email can't be sent without filling them out.
- In the Properties panel in the right sidebar, fill in the subject line of your email.
- Select the domain you want to use as the sender address in the 'From email address domain name' drop-down. If you don't see a drop-down, go to multi-domain management to set up a subdomain.
- Fill out the sender address in the 'From email address' field.
- Click 'Save' to save your changes.
The email properties have now been saved. You are now ready to begin configuring the email.
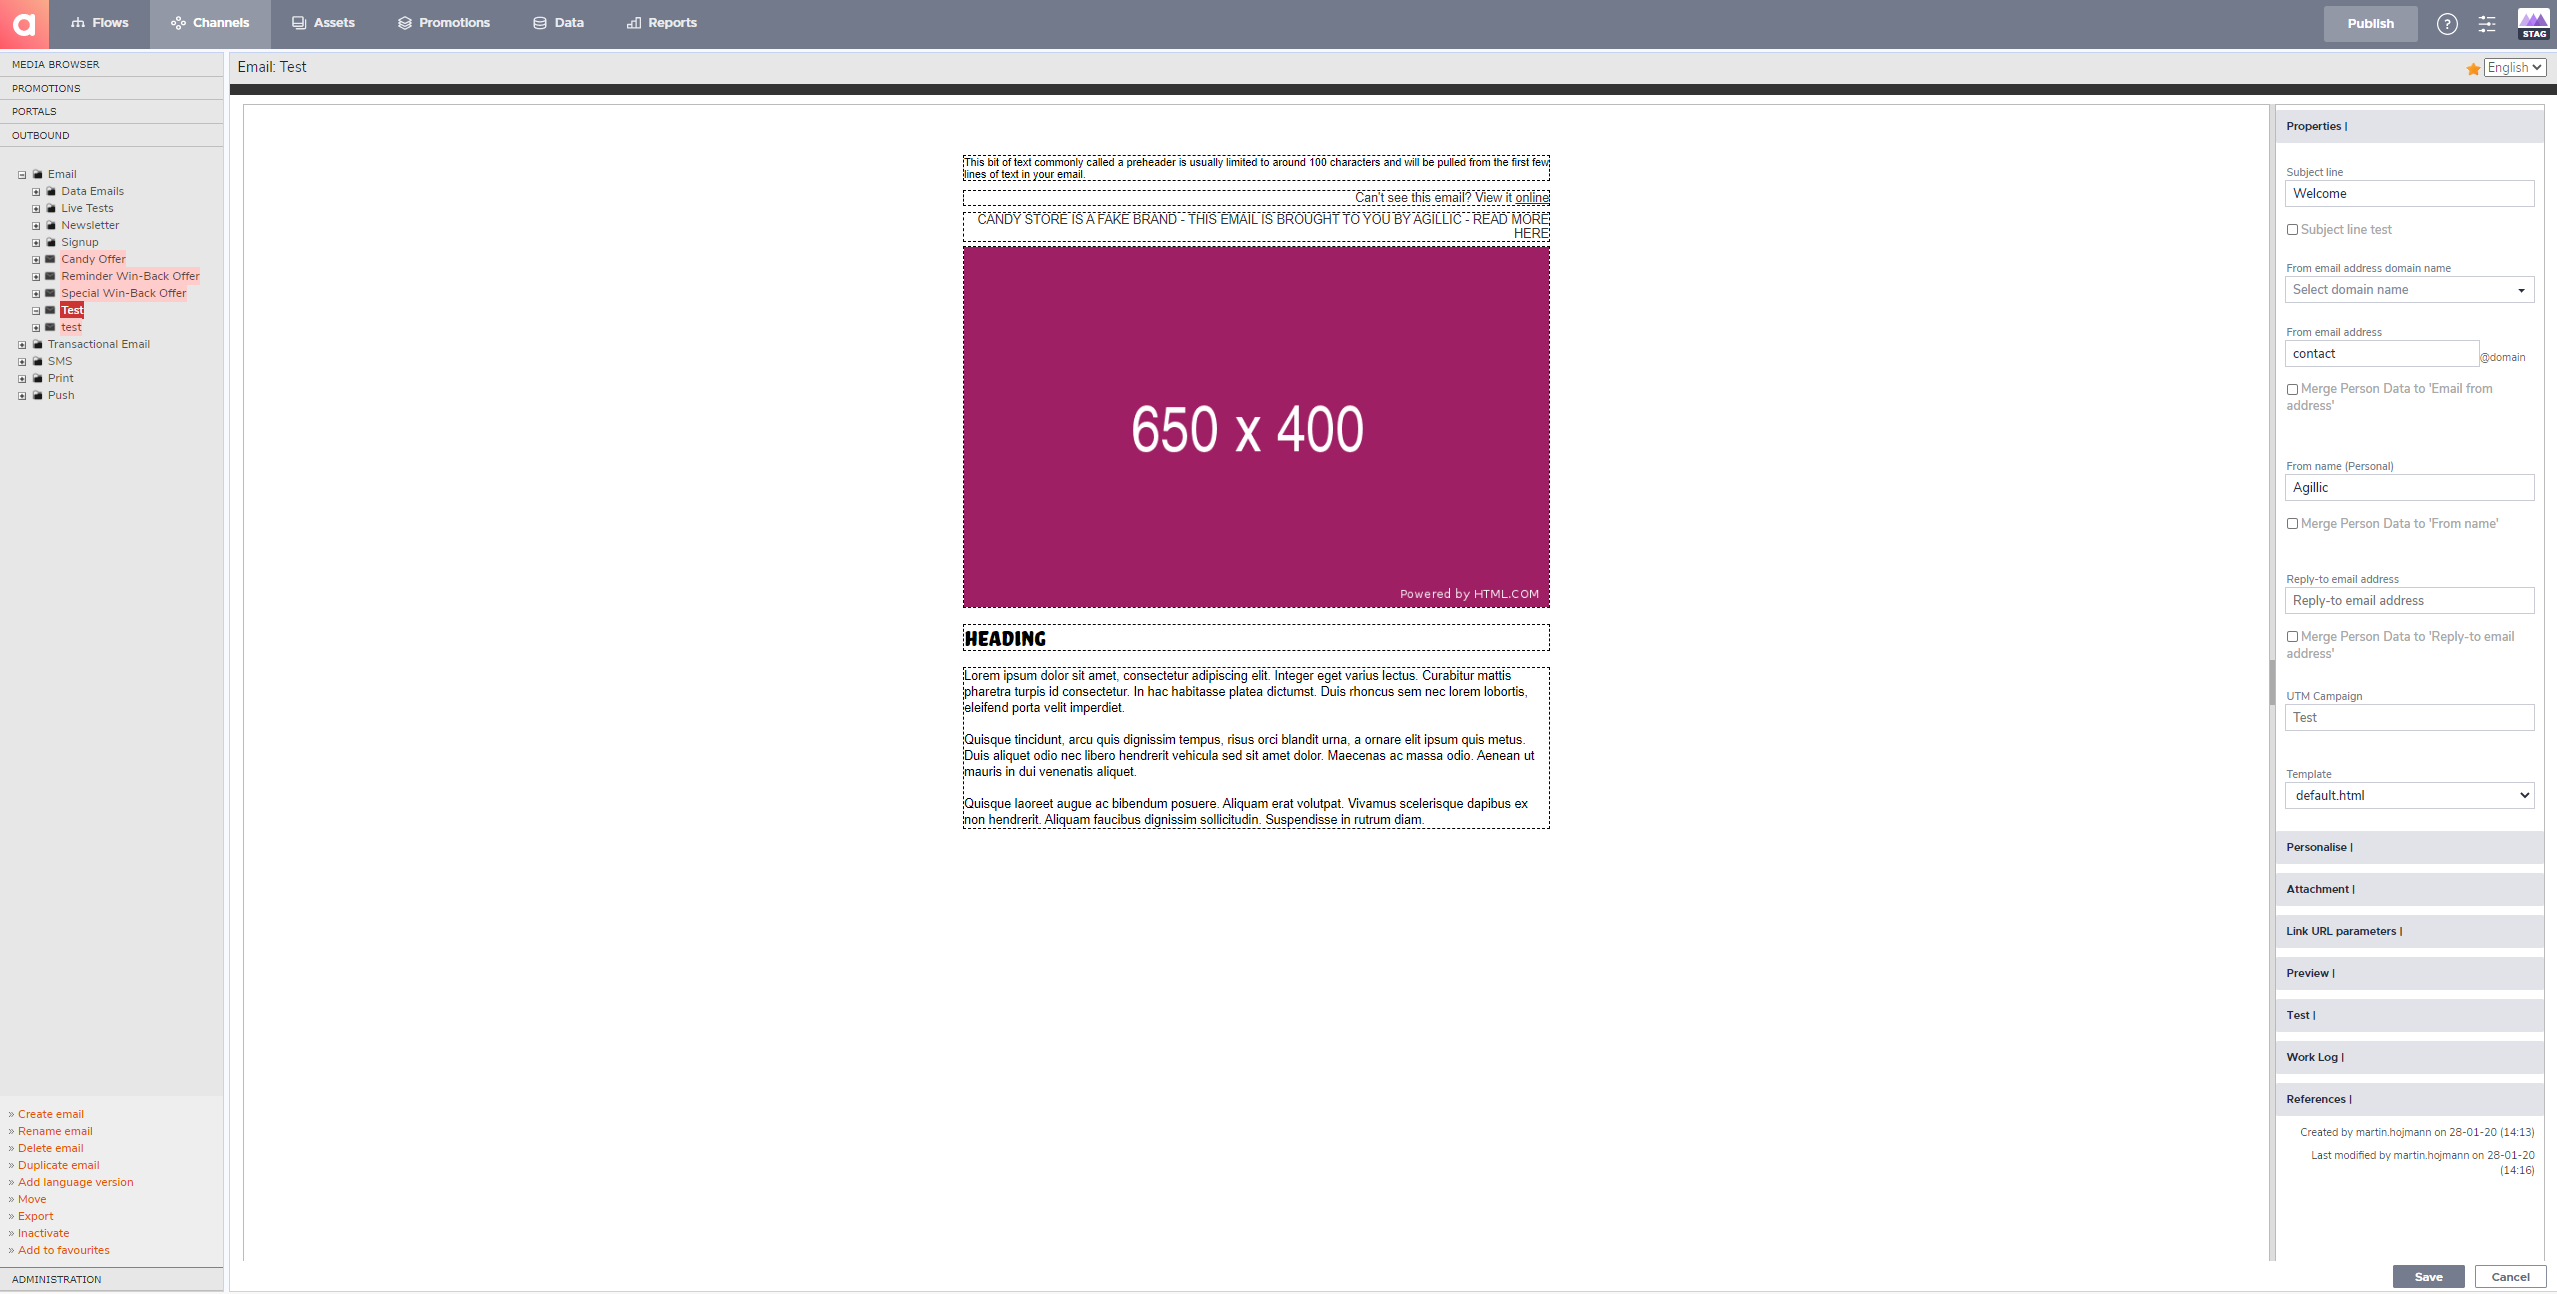 Email using the default.html template. The look of your email changes depending on the chosen template
Table 1 - List of Email Properties
The following is a list of each of the options in the email property panel.
| Field name | Description | Required | Example |
| Subject line | Subject line of the email | Yes | Welcome to Agillic Candy Store! |
| Subject Line Test | Checkbox for enabling a Subject Line Test. Check out the How-To article for more | No | Checked |
| From email address domain name |
The domain name the email is being sent from |
Yes | demo.agilliccandy.com |
| From email address | The local name that will appear before the chosen domain name | Yes | noreply |
| Merge Person Data to 'Email from address' | When checked, you can choose a Person Data value to use as your 'from email address' | No | PERSONAL_EMAIL_FROM_ADDRESS |
| From name (Personal) | Name that will appear as the sender | No | Agillic Candy |
| Reply-to email address | The email address that will be used when replying to the email | No | customerservice@agilliccandy.com |
| Merge Person Data to 'Reply-to email address' | When checked, you can choose a Person Data value to use as your 'Reply-to email address' | No | PERSONAL_EMAIL_FROM |
| UTM Campaign |
Will appear if Google Analytics tracking is enabled. Check out this article on Google Analytics tracking |
No |
Newsletter Week 01 - Basic Email |
List of Email Properties
Configuring Email Content
When working in the Email Editor, you build emails from Content Blocks. The email HTML template defines the structure and customisation options available in these Content Blocks.
Content Blocks may contain static text, personalised text, data look-up results, images, and links.
You can learn more about the different types of Content Blocks as well as how to insert them in an email here.