
Menu Items are an essential element within Portal Pages such as Web Pages and Advisor Pages. A Menu Item acts as an entry point, allowing either known or unknown recipients to visit a page.
In this article, you'll find information about:
Menu Items in Agillic
Menu Items are divided into two categories, anonymous Menu Items and user Menu Items.
Anonymous Menu Item
Creating a page with an anonymous Menu Item means that the page will have a static URL and can be visited by anyone who knows the URL or clicks on the link to the page. This type of Menu Item is useful for creating pages such as signup or login pages where you don't know the recipients visiting the page in advance.
User Menu Items
When you create a page with a user Menu Item, that means Agillic must know the identity of the visiting recipient in order to give them access to the page. If you create a link from an Agillic outbound communication, such as an SMS or email, the link will automatically contain login information for this recipient. Therefore, when a recipient clicks on the link, they'll automatically be logged in.
Creating a page with user Menu Item allows you to personalise the Portal page with dynamic Blocks and personalised text.
Creating a Menu Item in Agillic
While you may normally create a new Menu Item when creating a Portal Page, you can also create a Menu Item independently. This can be useful if you have an existing page with no Menu Item and you want to link to it.
We recommend you create a Menu Item while creating a Portal page. If you have already created a Portal Page without a Menu Item, you can create the Menu Item independently and link it to the existing page.
How to Create a Menu Item
- Log in to the Staging environment.
- Open the Channels module.
- Open 'Web Page' and go to 'Web' and then 'Navigation' if you want to create a Menu Item for a Web page.
- Open 'Advisor Portal' and go to 'Advisor' and then 'Navigation' if you want to create a Menu Item for an Advisor Page.
- Open the correct subfolder depending on which type of Menu Item you want to create, User or Anonymous.
- Click 'Create Menu Item' in the toolbox below.
- Fill in the name of the Menu Item in the 'Name' field.
- We recommended you to name the Portal Page and Menu Item the same name to easily identify the link between the two.
- Fill in the last part of the URL for the portal page in the 'URI' field
- We recommend you make up a short and externally friendly URI name. This should not have any spaces but can contain underscores (_) like 'summer_questionnaire'. In most cases, you may want to use the same name as the name of your Menu Item.
- Optional: Add restrictions to the Menu Item by selecting a Target Group in the 'View permission' drop-down if you want to only allow specific recipients to see the Portal Page. A recipient will have to be in the Target Group to see the Portal Page.
- If the recipient doesn't match the Conditions, they'll see the 'userhome' or 'anonhome' page, depending on if they are already logged in or not.
- Optional: Fill in the shown name of the Menu Item in the 'Label' field if you use the standard navigation application for the portal.
- Select 'page' from the 'Link' drop-down, to set the Menu Item to link to an existing Portal Page.
- Optional: Check the 'Hidden' checkbox if you use the standard navigation application for the portal and want to hide this page.
- Click the 'Next' button.
- If the 'Link' drop-down was set to 'Page', you will see a list of pages.
- Select the page your Menu Item should link to.
- Click the 'OK' button.
You have now created a Menu Item and linked it to a page.
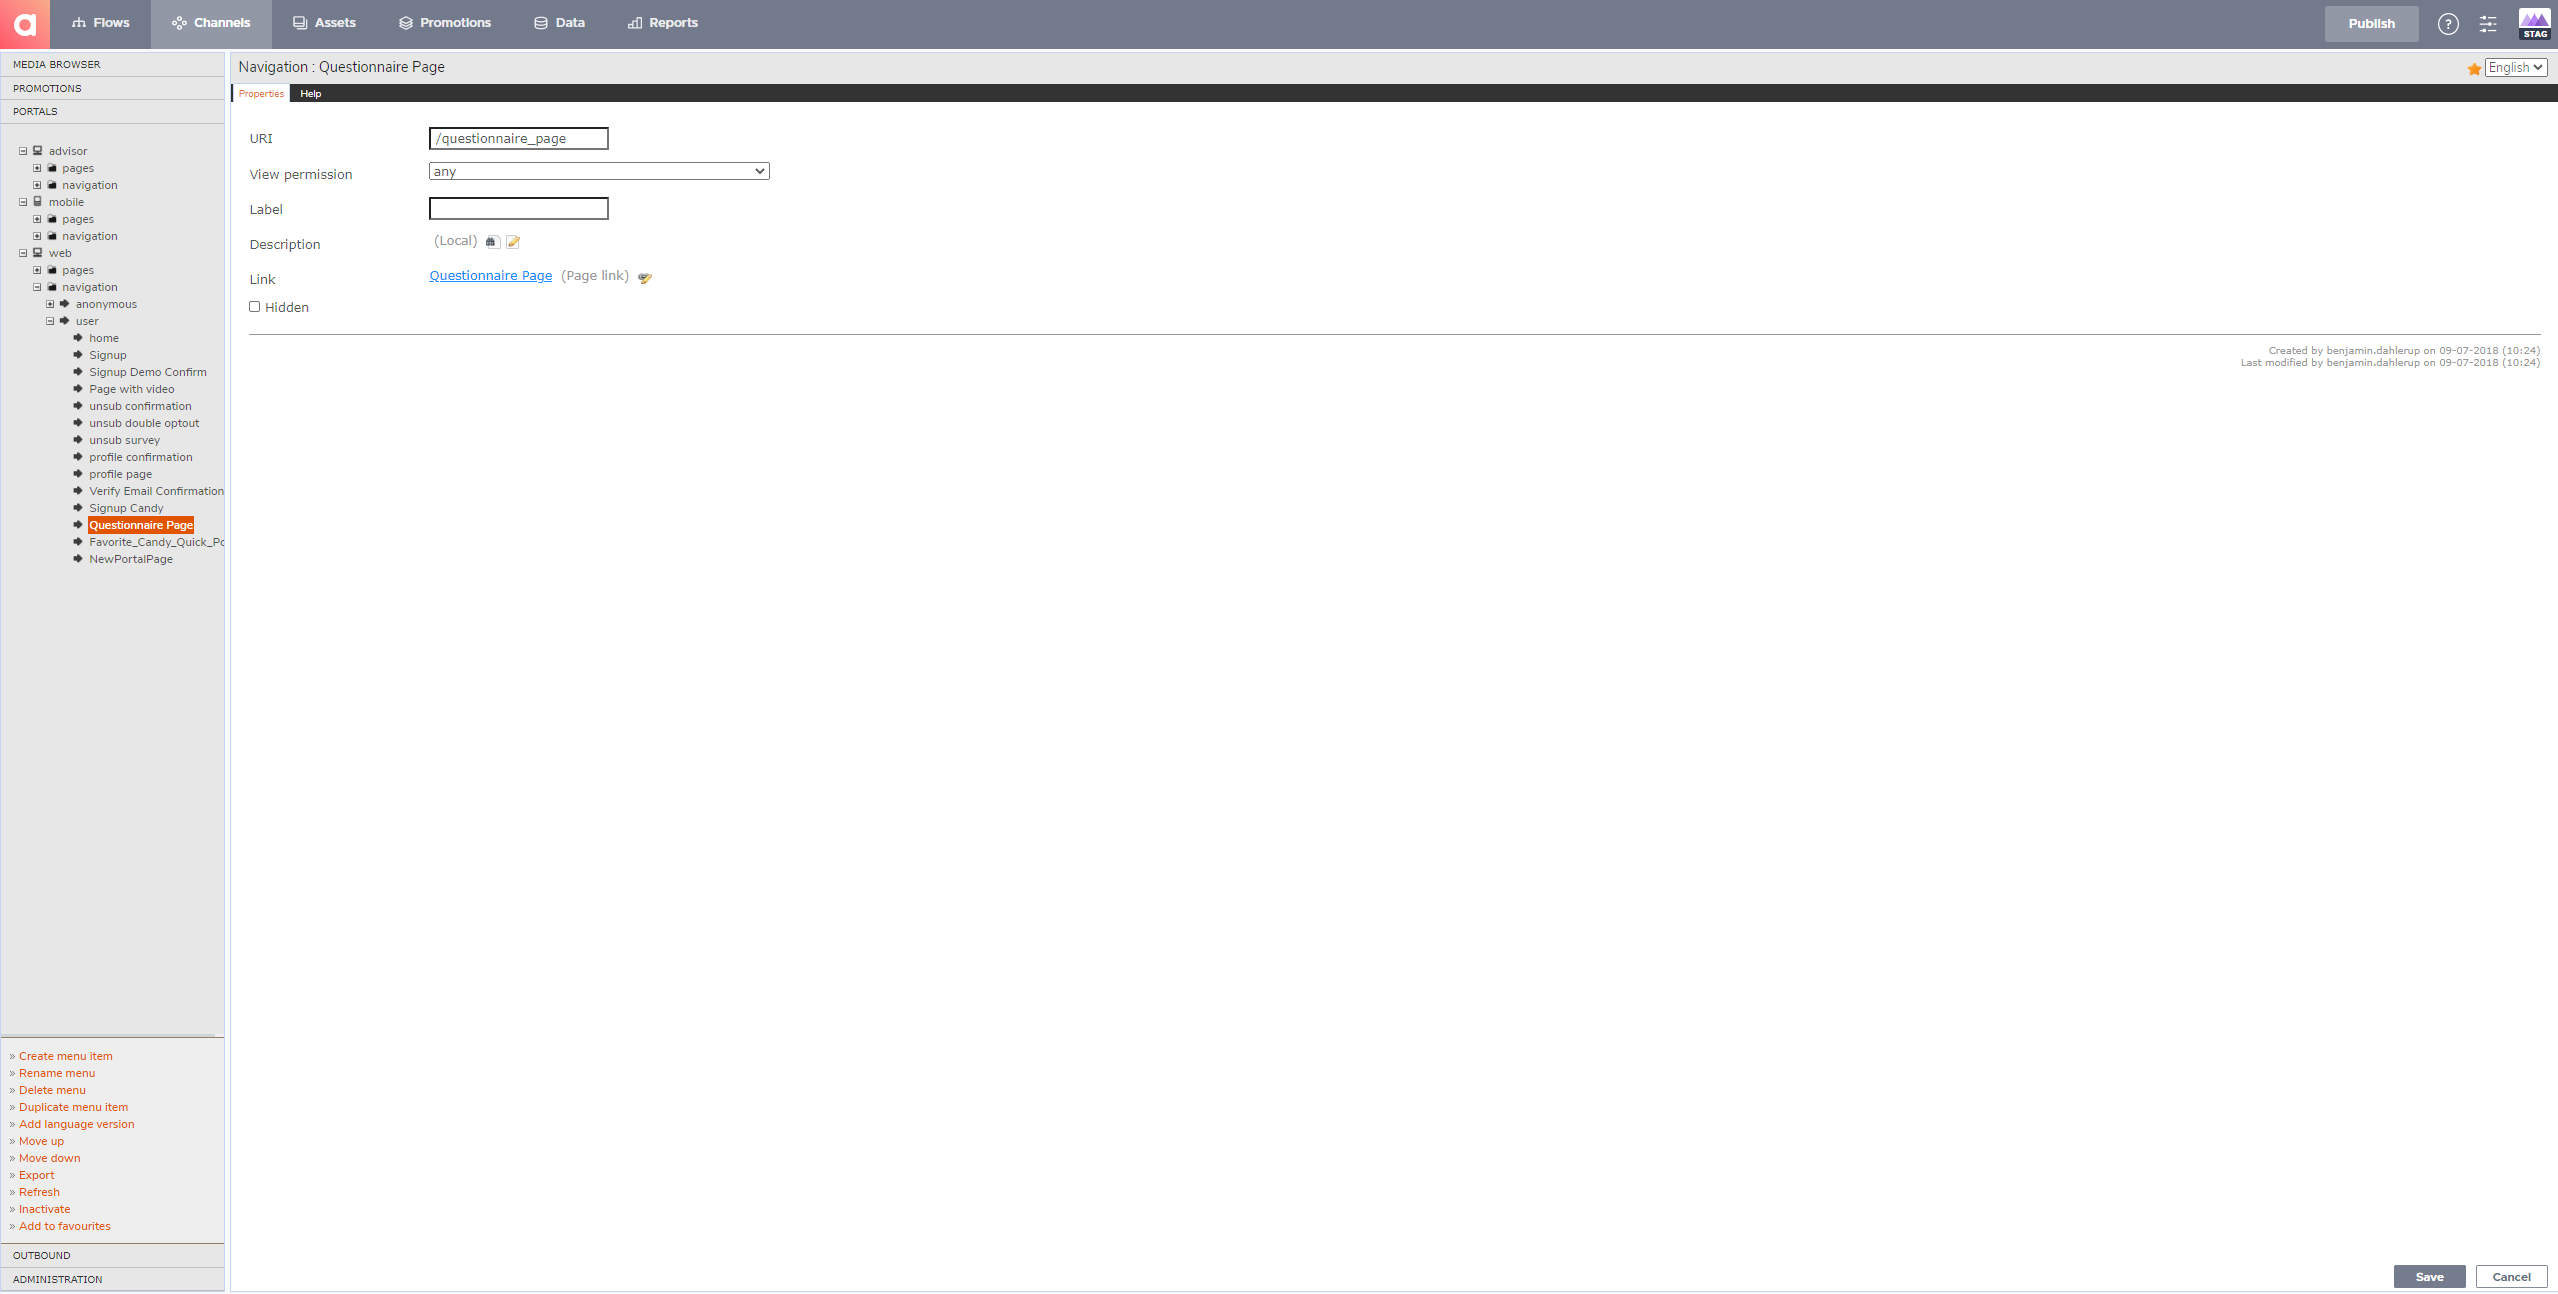
A configured Menu Item linked to a Web Page called 'Questionnaire Page'