
A 'My Profile' page is where recipients can view and edit their data settings. This often includes permissions, contact information, and general segmentations, such as their category interests or preferred store.
The page allows your recipients to get a good understanding of their current permissions and allows them to unsubscribe to any of their permissions all at the same time. It also means they can easily update their contact information.
In this article, we cover:
Setting up a 'My Profile' Page
There are a number of different steps which go into setting up a 'My Profile' page which we lay out here.
How to Insert the Person Data
First of all, you need to set up a questionnaire so that your recipients can insert their Person Data for the first time. Questionnaires only allow for changes to Person Data. So, make sure each of the fields require Person Data.
It isn't possible to store other data types such as One-to-Many data. If you would like to include other sorts of data in the form, you will need a custom application for this page.
- Create a Person Data field for each piece of data you want to show. For example, the Person Data fieds you include could be:
- EMAIL - Email address
- EMAIL_PERMISSION - Email Permission
- MOBILE - Phone number for SMS
- SMS_PERMISSION - SMS Permission
- FIRSTNAME - First name
- LASTNAME - Last name
- FAVOURITE_CANDY_TYPE - Favourite candy type
- FAVOURITE_CANDY_STORE - Favourite candy store
How to Create the Confirmation Page
Next, we need a confirmation page where the recipient will end up once they've updated their settings.
- Create a web page with a user Menu Item.
- Customise the page content to show verification that the recipient has updated their profile.
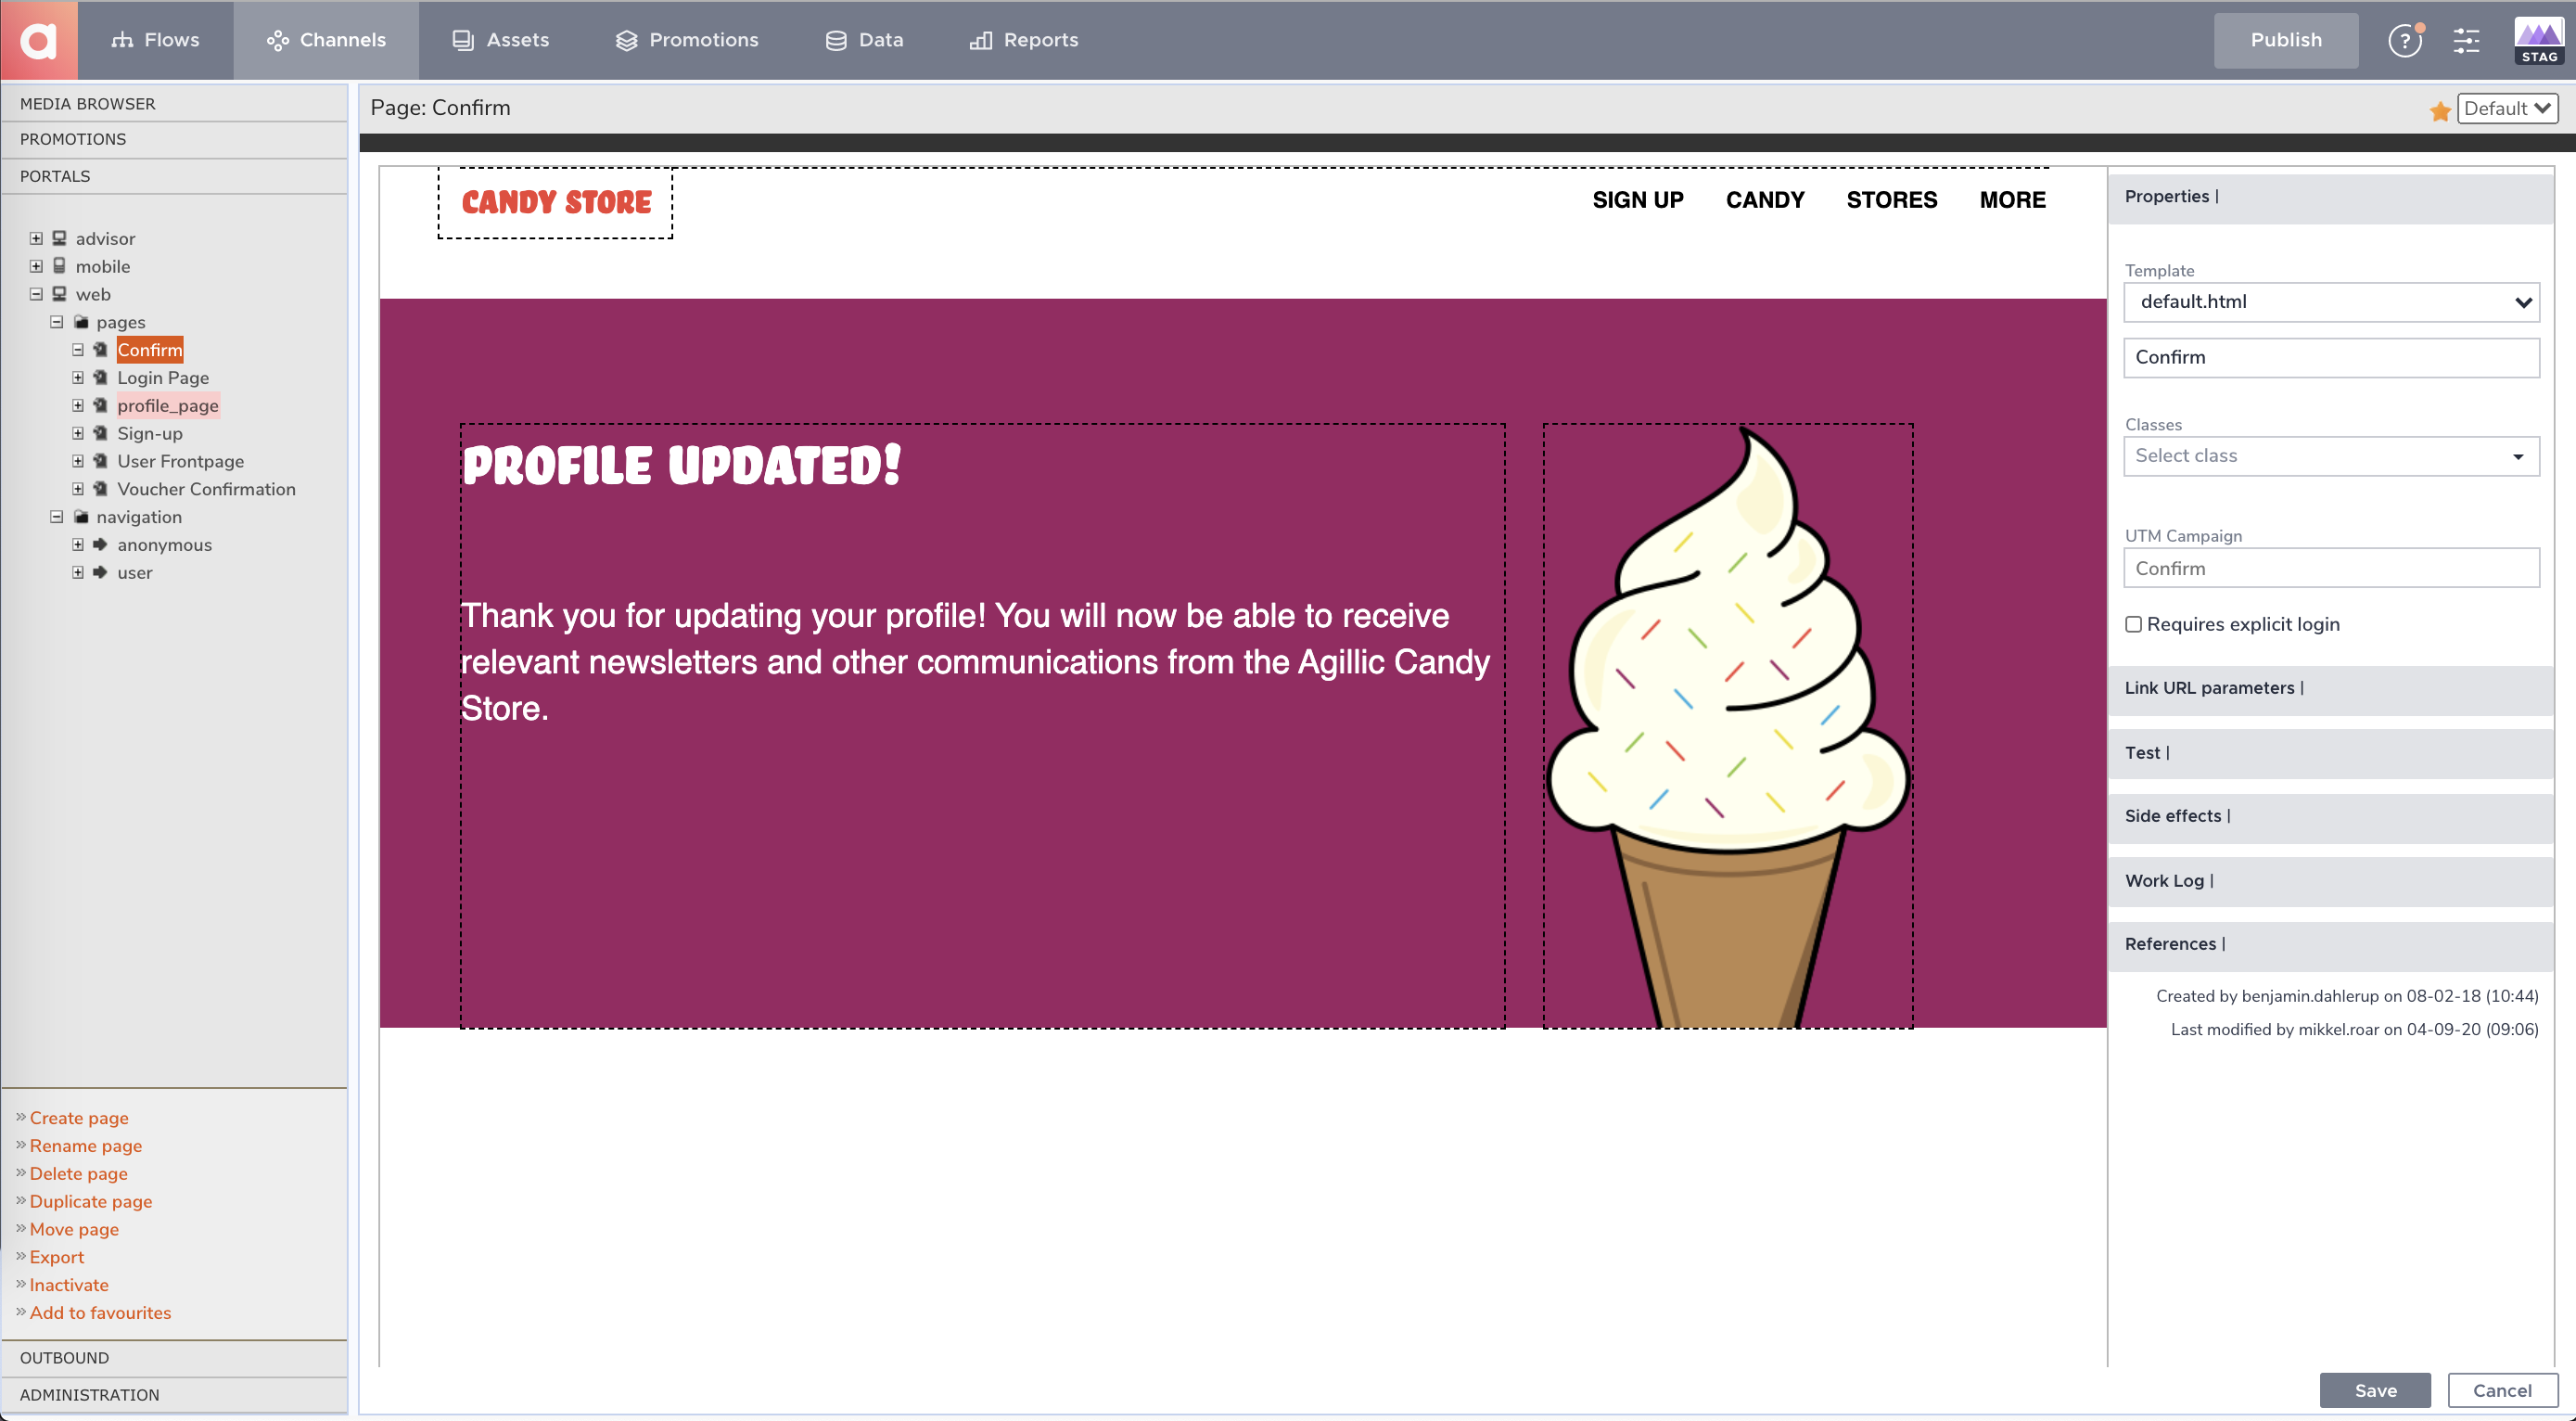 A 'My Profile' confirmation page
Since the Web page is set up with a User Menu Item, you can use a Promotion to show different content dependent on the values that are now saved. For example, this could mean having one version of the copy for if the recipient is now unsubscribed from everything and another if some permissions still exist.
How to Create the 'My Profile' Page
- Create a Web page with a user Menu Item.
- Add a Questionnaire to the Web Page.
- Insert a Checkbox per boolean Person Data like EMAIL_PERMISSION.
- Insert single-line fields for string Person Data like EMAIL and MOBILE. You could also insert a drop-down for string Person Data with restrictions so you can control which values the recipient can select. This could be, for example, FAVOURITE_CANDY_TYPE.
- Set up the questionnaire so that it retrieves the confirmation page after completing the questionnaire.
- Click the 'Save' button.
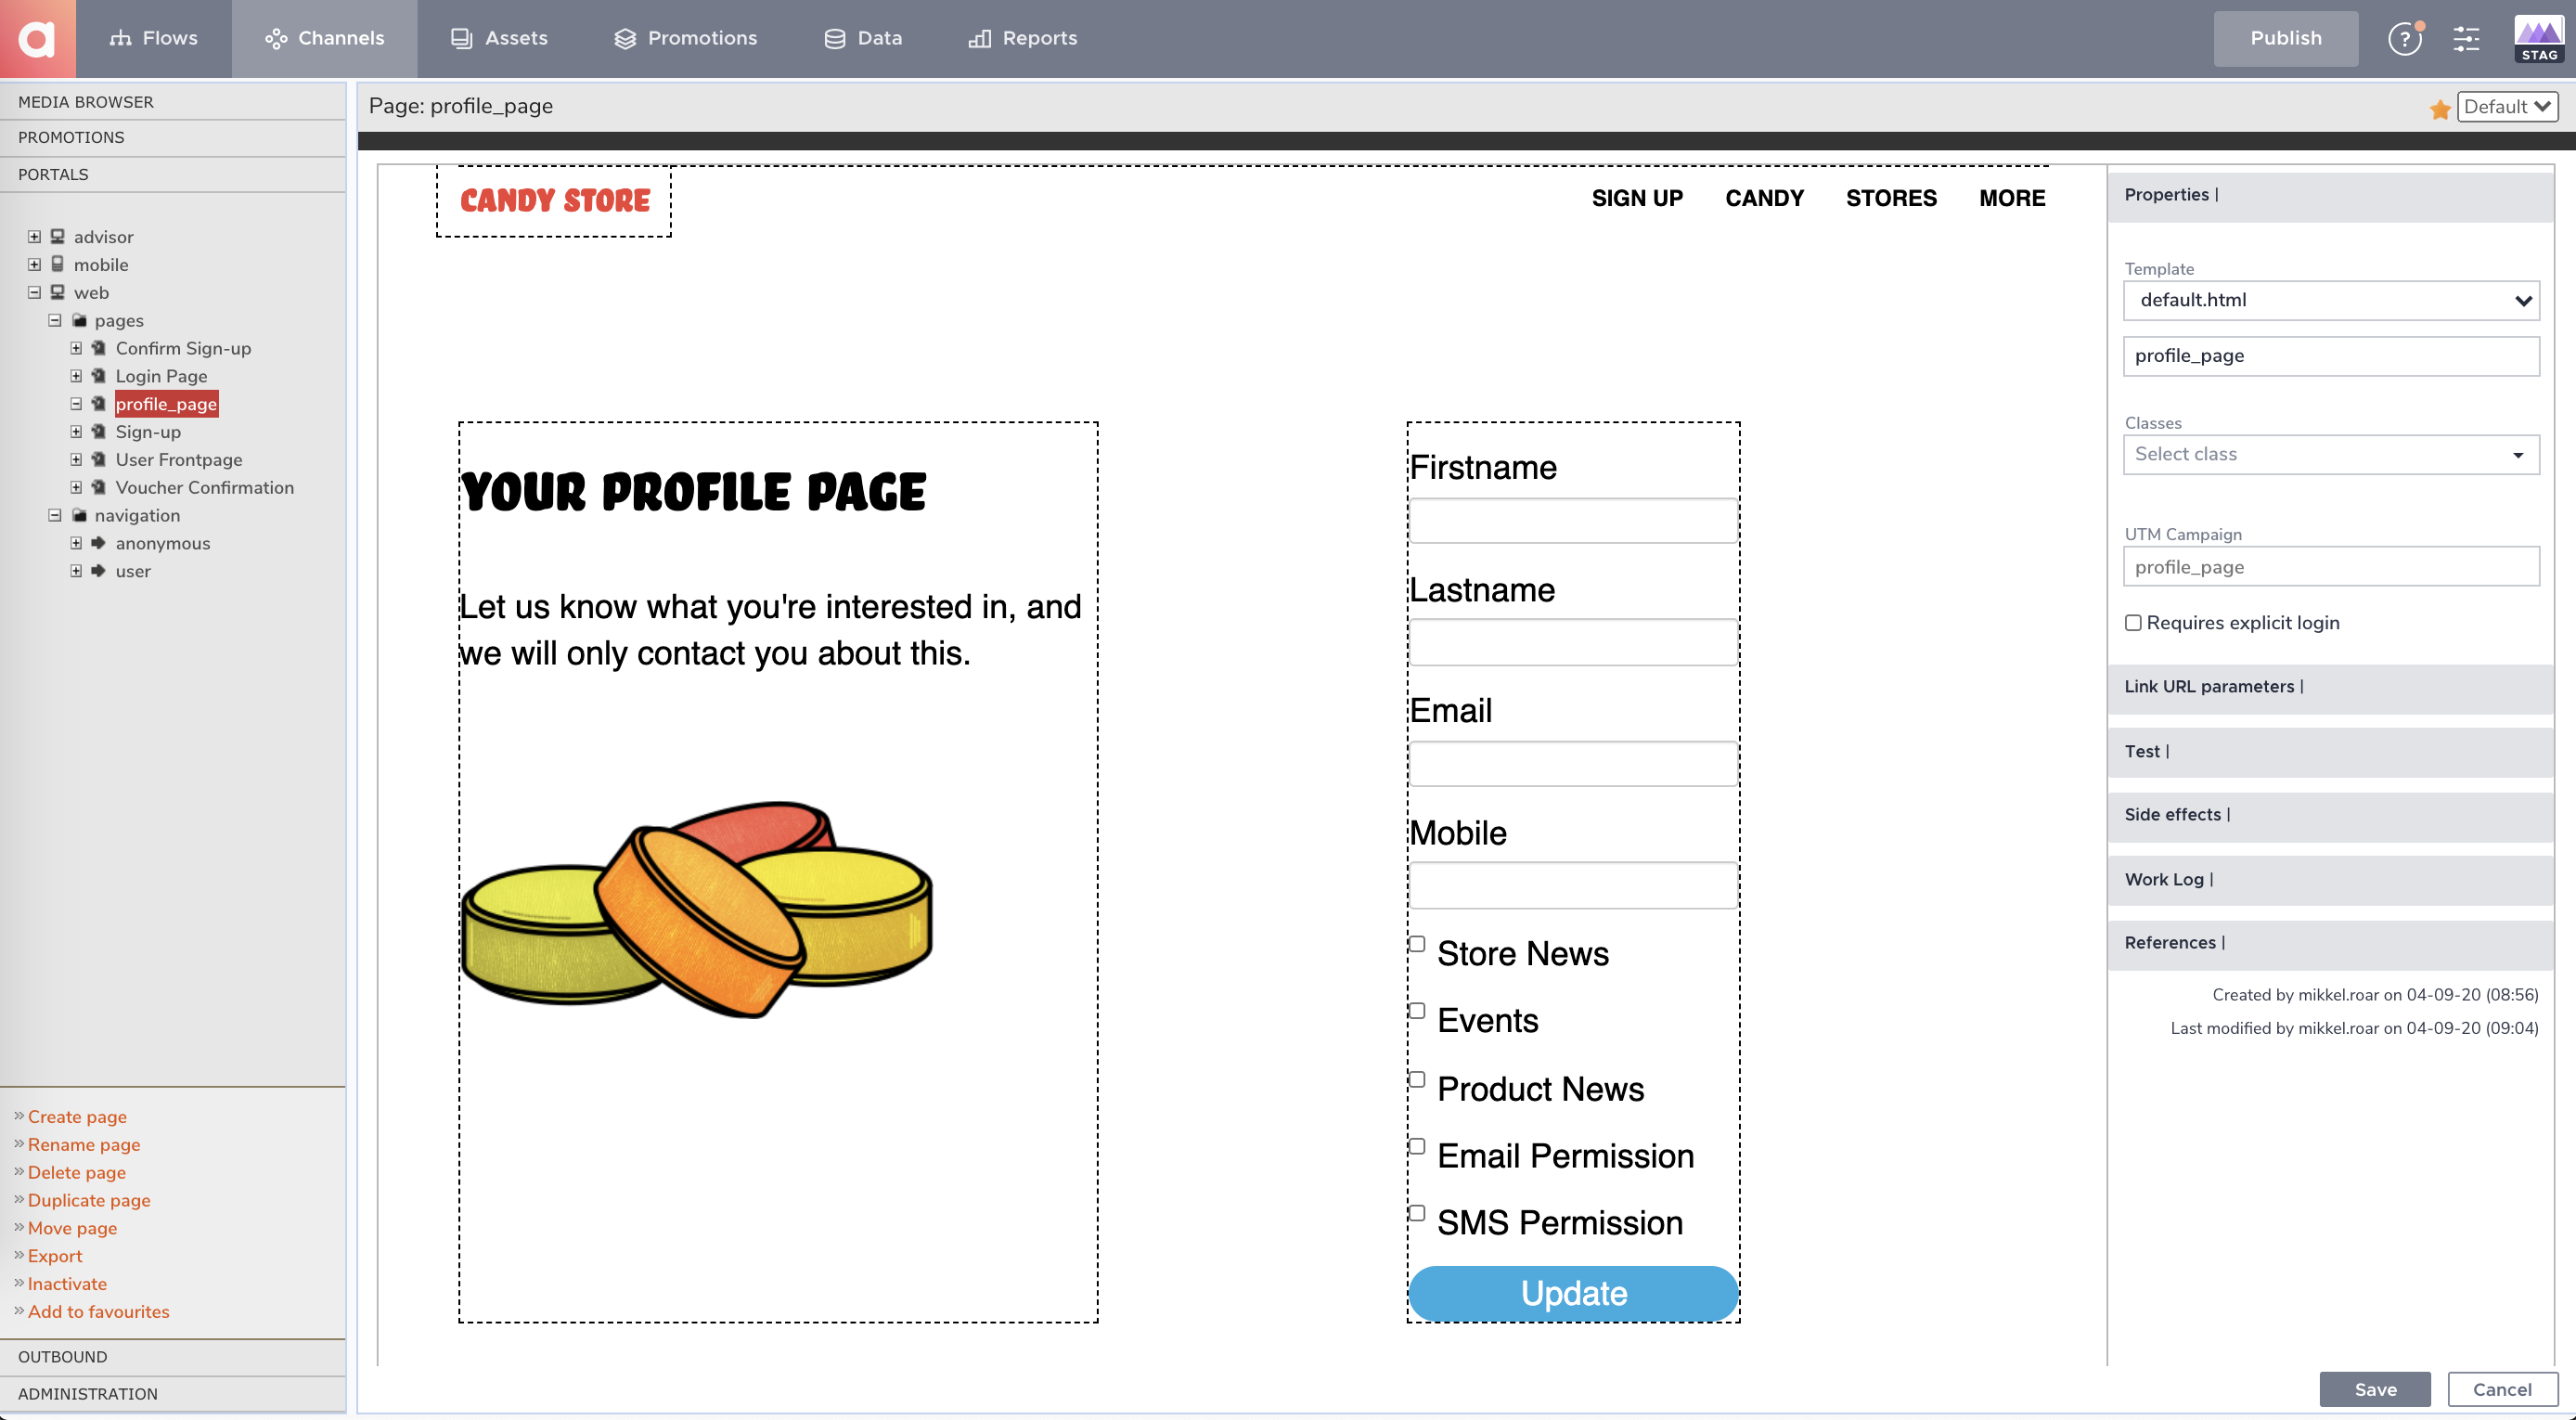 A 'My Profile' page using the questionnaire application
How to Link to the 'My Profile' Page
A great place to link to the 'My Profile' page is in your email footers. You could change your email templates to have a non-editable link to the 'My Profile' page.
You're now ready to test the configuration.
How to Test a 'My Profile' Page
Testing a 'My Profile' page is an important step before pushing the page live. It means you can make sure that everything works as intended. When testing a 'My Profile' page, you'll need to:
- Create an email with the newly updated email template. Make sure to link to your 'My Profile' page.
- Save and Publish to the Staging environment.
- Send the email on behalf of the test recipient.
- Click the link to the 'My Profile' page in the delivered email.
- Change the data values for the test recipient and save.
- Verify the test recipient has the new data values saved correctly.